![]()

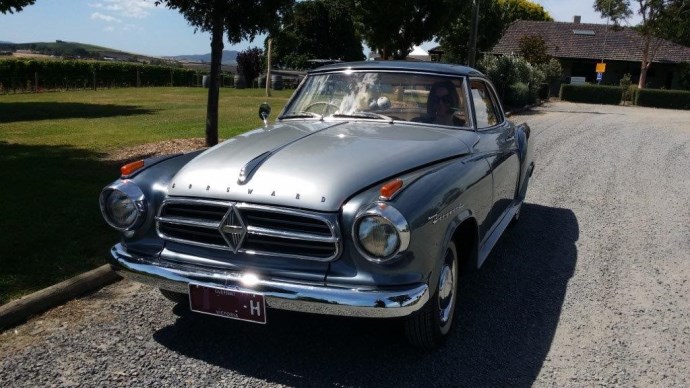
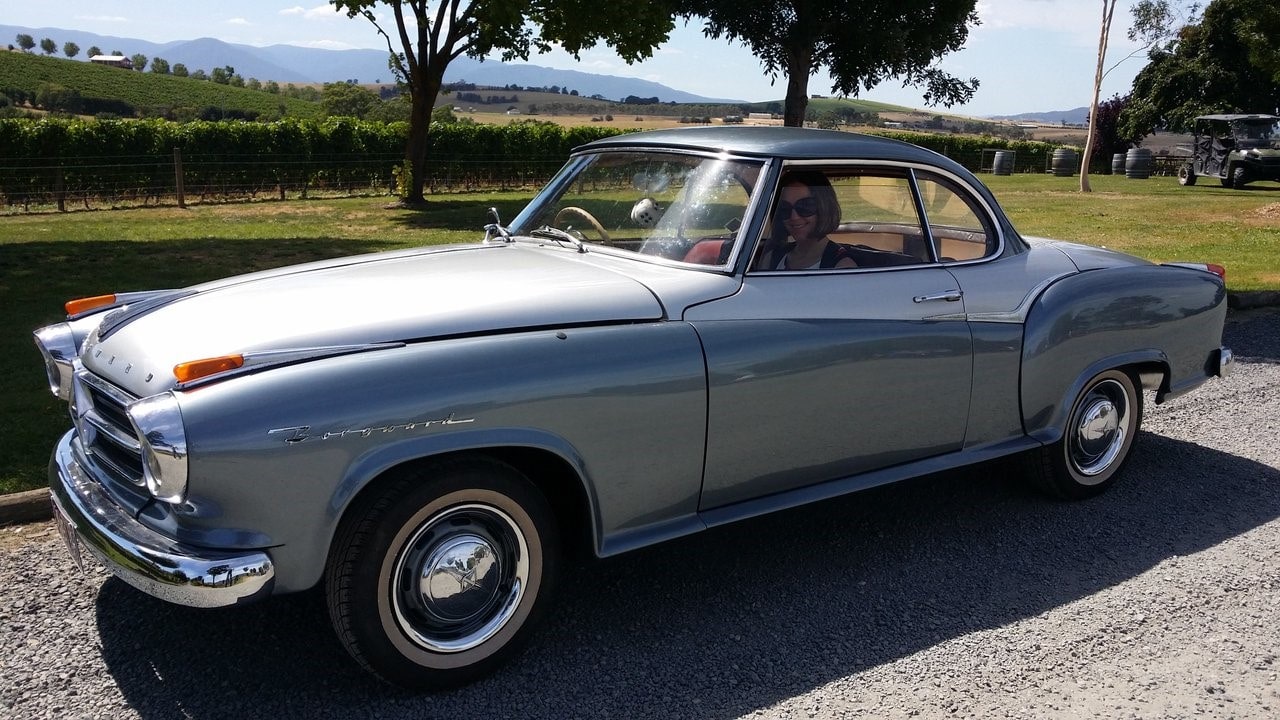
I started a ground up restoration of a 1960 Borgward Isabella Coupe. I enjoy the overall restoration process but it took me over 10 years and certainly had its highs and lows. Below is showing some of my stages of the restoration process and of course the final car as it is today. Please also visit my gallery for more photos and my recent publication in the Unique Car Magazine
The car is driven to shows, car meetings as much as possible. Borgward cars are not very common in Australia but people do fall in love with the car when they see it at shows or car meetings
![]()

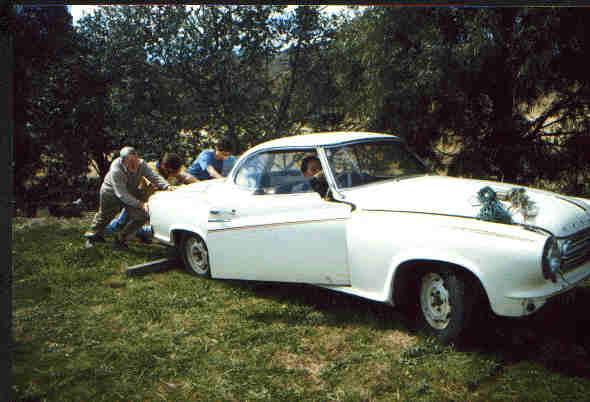
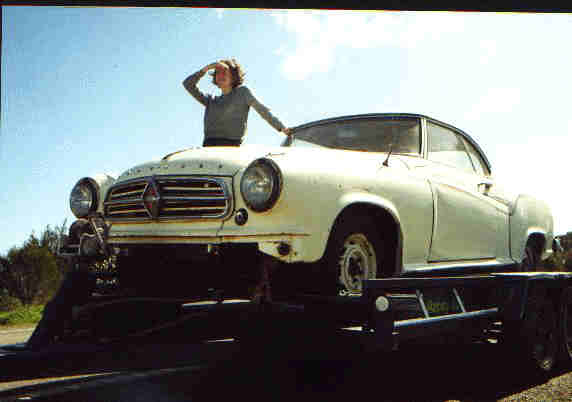
The BeginningI was looking for a decent Borgward Isabella Coupe for a while but suddenly out of the blue I received a call from someone in Mudgee offering me a complete coupe. Mudgee was a 12 hours drive for me but I didn't hesitated long. I grepped a car trailer and my wife and drove all the way up to Mudgee. The coupe was indeed complete, parked under a tree exposed to the weather. There was some rust in the body but the interior in a good condition too. At this stage I didn't realise how rusty the floors were. So we pushed the car on the trailer, agreed on the price and my restoration journey has begun. If I would have know how long it will take me .....
A bit of funWhile we were up there we enjoyed Mudgee's wine festival with my wife's sisters, which was good fun. On the way back to Melbourne we got many queries about the car on the trailer. The car lines are beautifull even when the car is not restored. I guess that was the main reason why I went ahead with the complete restoration. I fell in love with the car and it was a labour of love all those years.
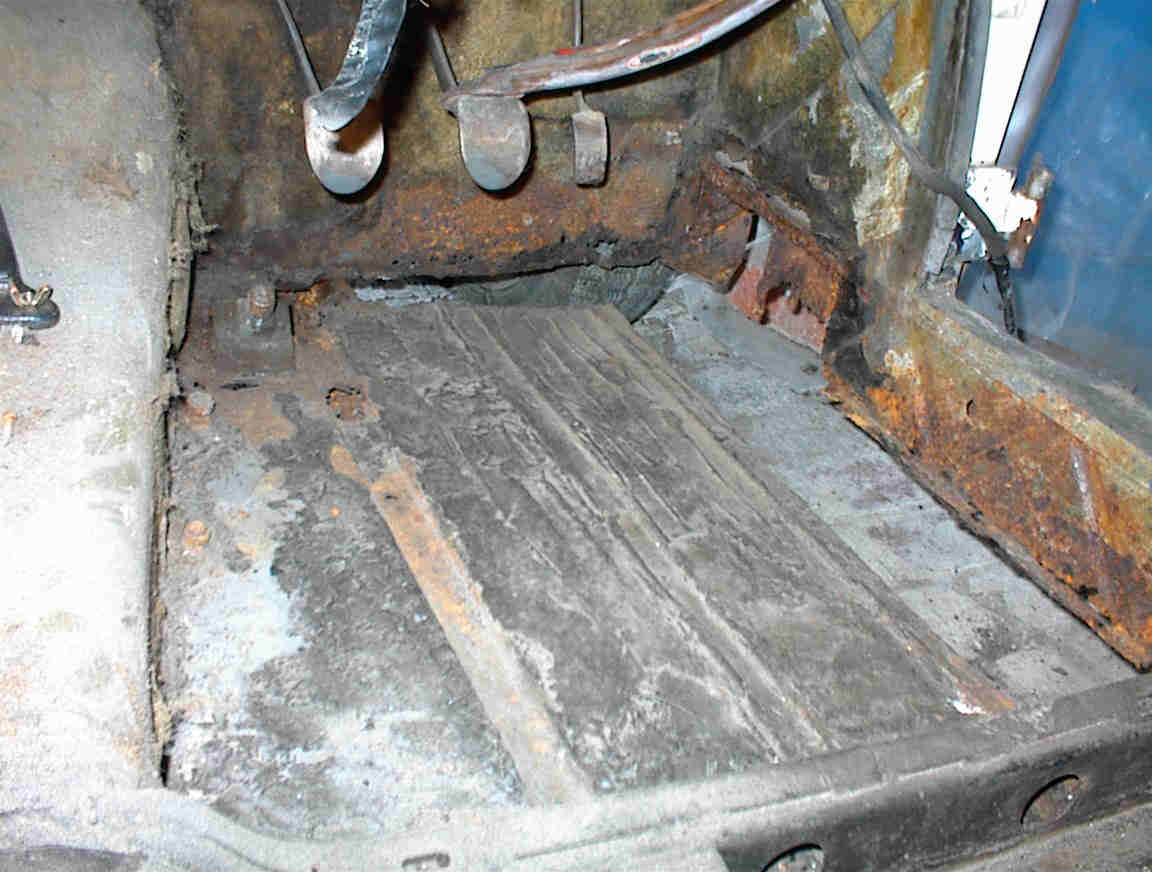
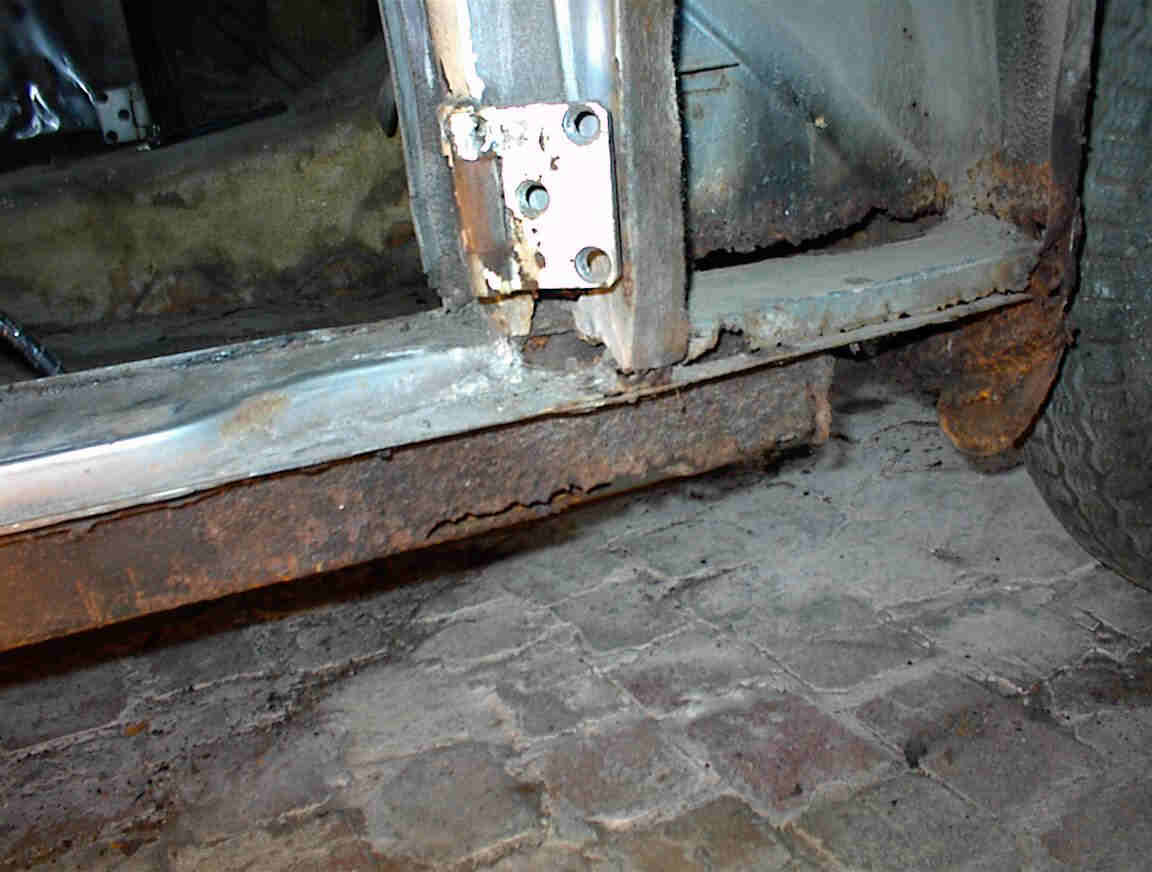
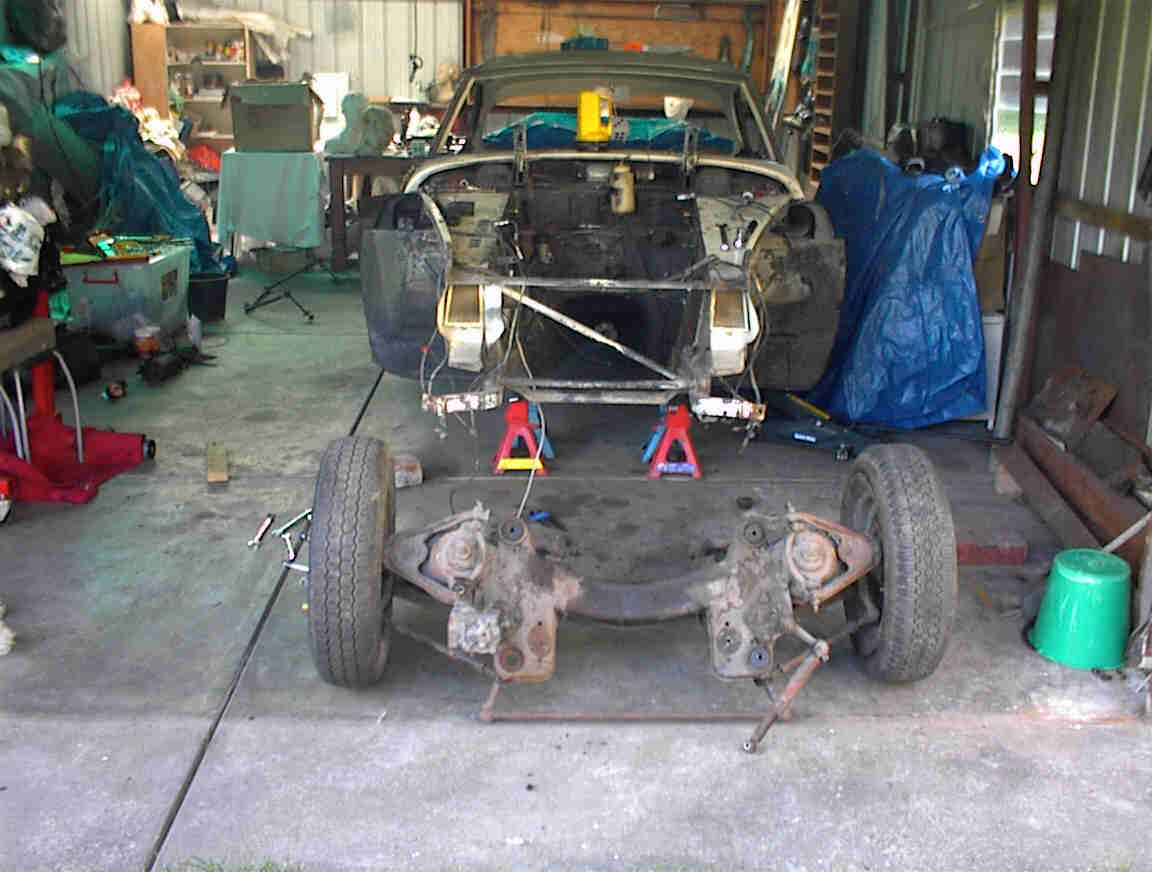
The AwakeningAfter removing panels and other parts the real condition of the car was showing. I was in shock and it took me days to digest this. Floors, sills and doors were rusted and body filled. I got a quote for the rust work, which was another blow. It was way above what I was able to afford. Instead of giving up I booked myself into a panel beating course. I learned how to weld and was able to fix up my pieces during the course. The deal was as long as you can carry it into the course you can work on it.
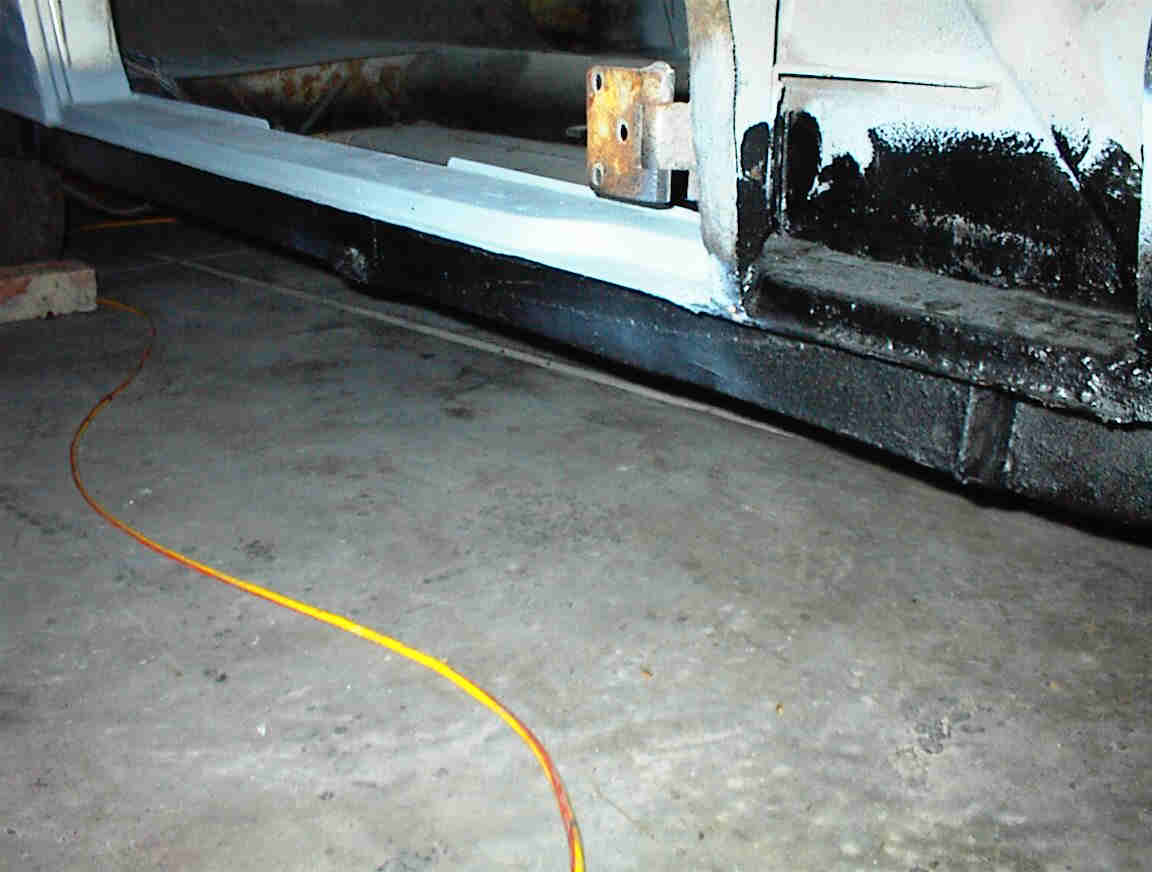
and more rustThe sills needed replacing, which also gave me an opportunity to enforce them.
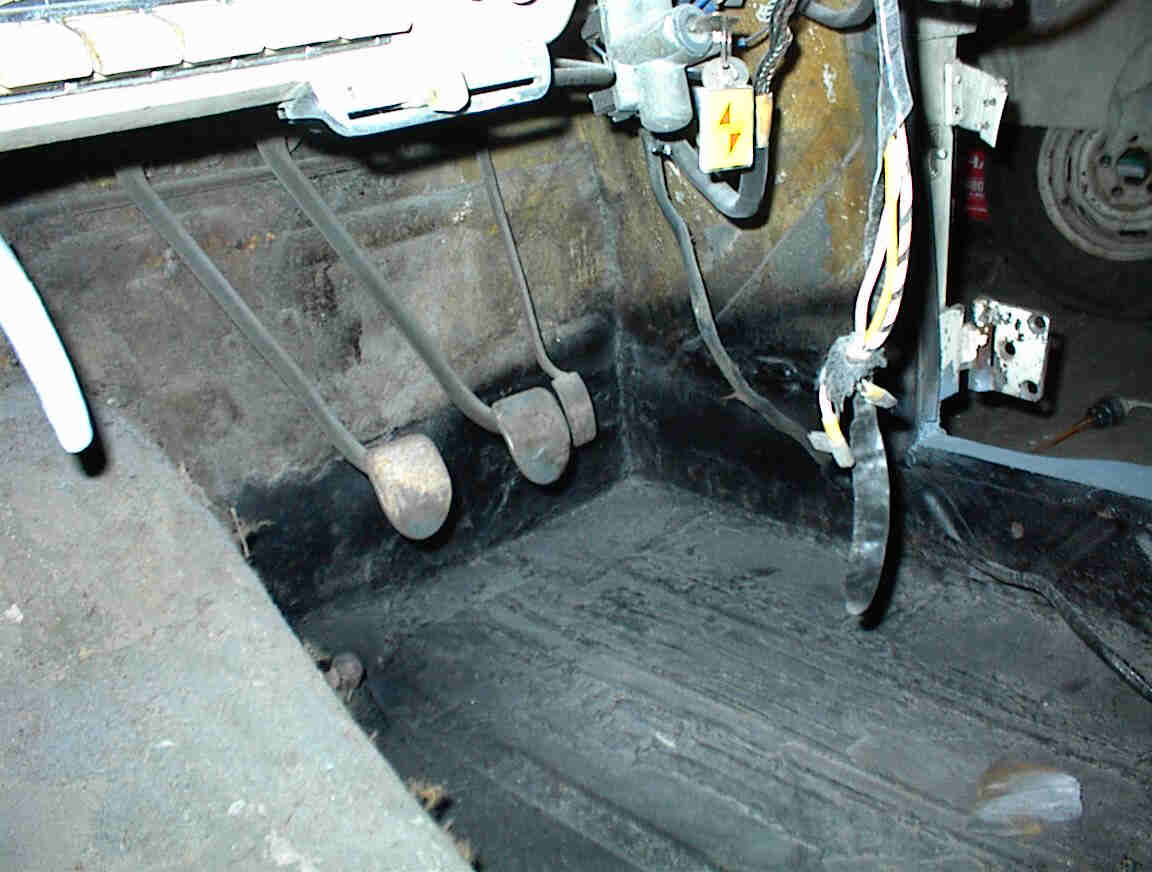
Finally welding finishedAfter a couple of years I managed to finish the majority of the welding during the course. That lifted my spirit and motivated me for coming years.
more welding finished
Ju Just a thoughtSometimes it is good not to think about the amount of work, which is still ahead. Enjoy the car restoration step by step and try not to visualize all work that needs finishing otherwise you may not finish it. It can become very overwhelming at times. Those time I just put my head down and finished that particular part. I almost gave up the car twice but my wife just looked at me and said that I have to finish it now. It is part of the family and deserves to be back on the road. I actually put the car aside for a couple of years to save up some funds and motivation.
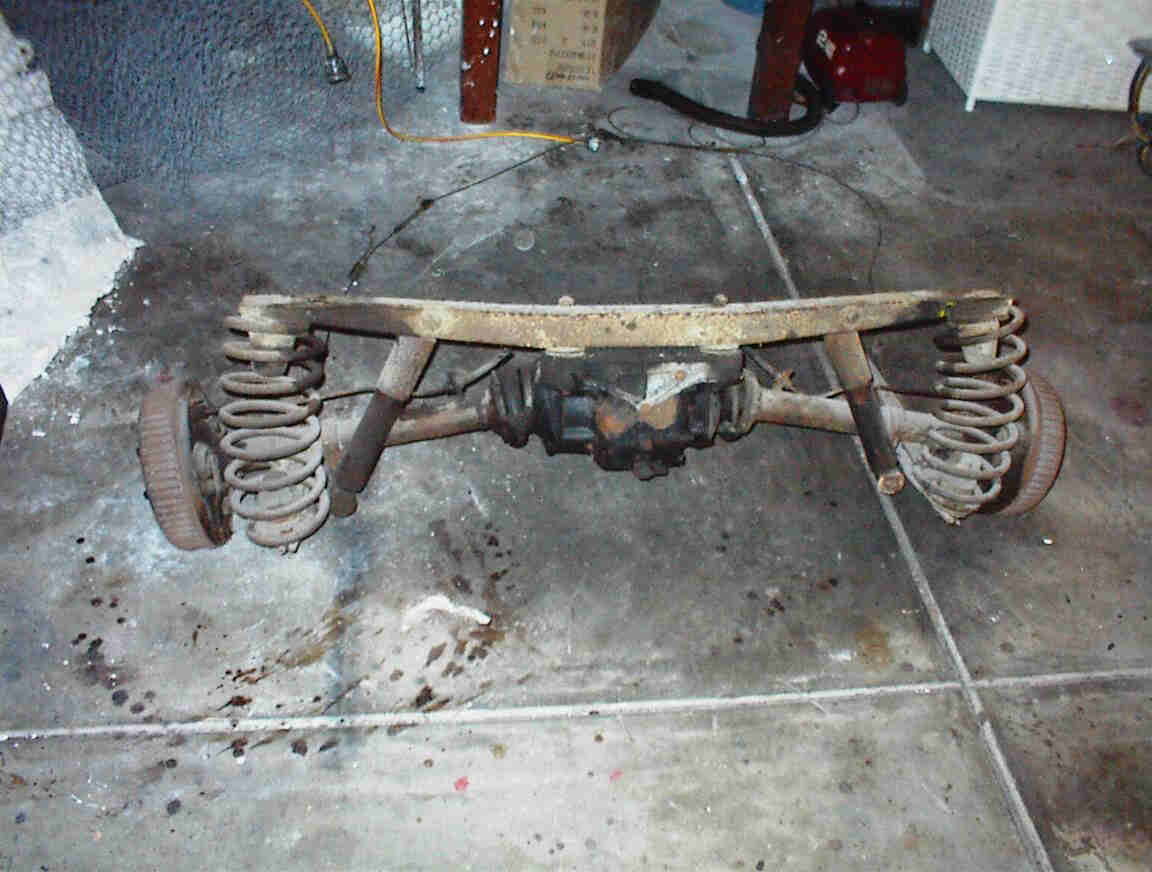
Backend (Before)
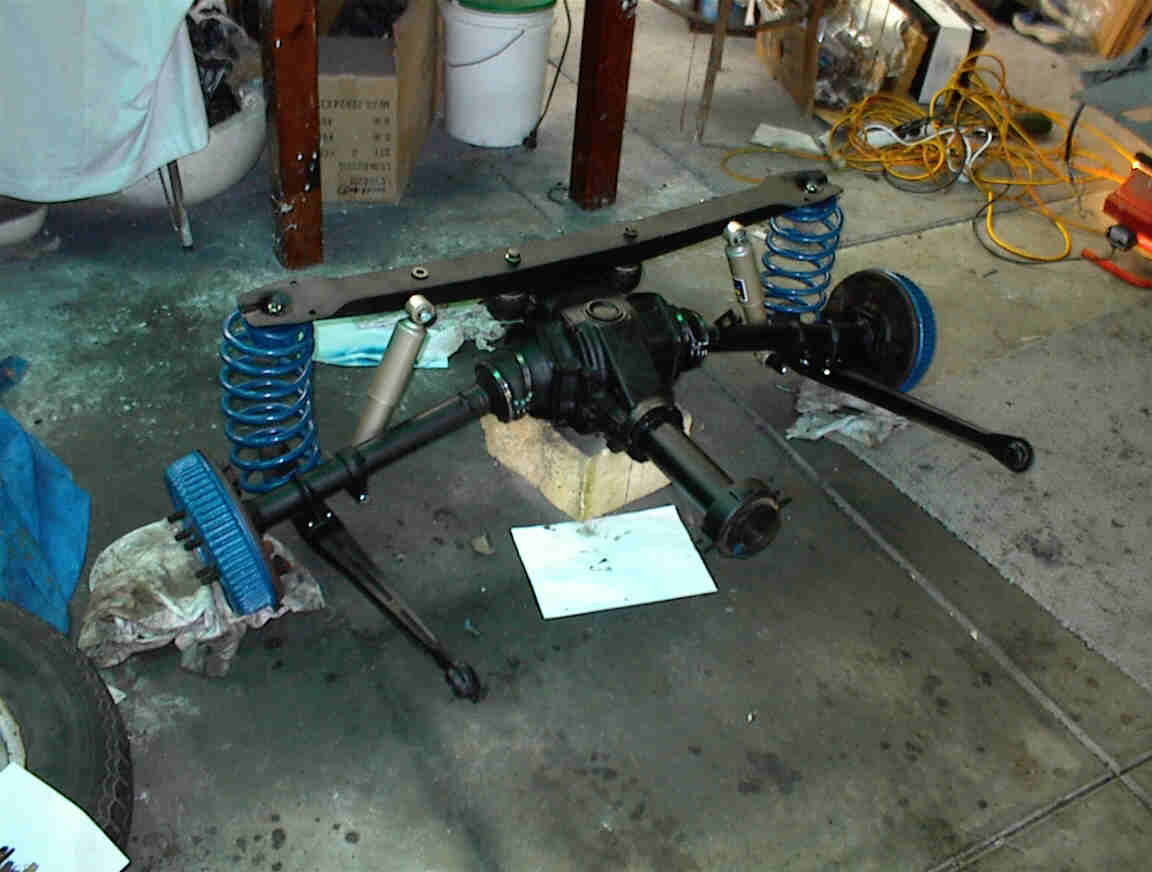
Backend (After)
Engine Bay (before)
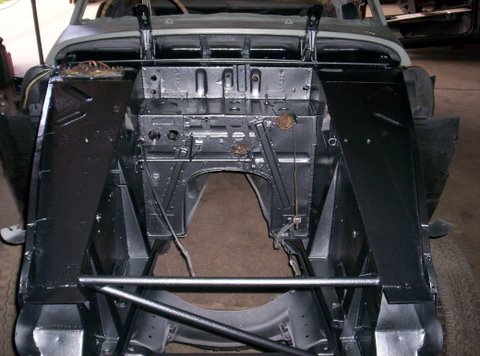
Engine Bay (after)
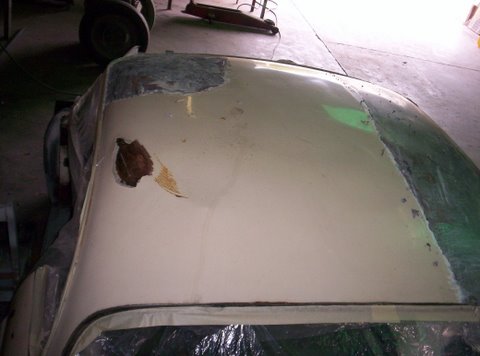
Roof (before)
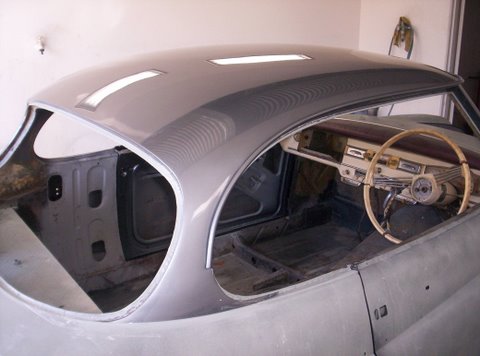
Roof (after)
Finished after 10 yearsAfter 10 years I finally finished the car. It was a long journey but all worth it. I have learn lots and met many new friends along the restoration. For more photos please visit my gallery and my publication in the unique cars magazine |
Copyright
Except as permitted by the copyright law applicable to you, you may not reproduce or communicate any of the content on this website, without the permission of the copyright owner.

